Updated 20th June 2024
Going through Exploring the Eco4 Scheme: What You Need to Know About Funding Opportunities was an eye-opener for me. I first noticed the need when damp patches appeared on my interior walls. Choosing the right contractor was vital—I looked for those with experience and solid reviews, and I didn’t skimp on asking for Government Insulation Grants. Preparing my home for the work involved clearing spaces and discussing plans with the contractor to guarantee a smooth process. Despite the challenges, like Essential Safety Gear for DIY Enthusiasts and technical hitches, staying adaptable and working closely with professionals helped me navigate through. Through this journey, I’ve gained valuable knowledge and insights, making me better prepared for any future home improvement projects. Stick with me, and I’ll share the lessons I learned to help you set off on your journey with confidence.

cavity removal
Key Takeaways
- Identify the need for removal by observing increased heating bills, damp patches, and mold presence.
- Select a qualified contractor by checking experience, certifications, and reviews.
- Prepare for the process by clearing the area and discussing plans with the contractor.
- Navigate challenges with adaptability, focusing on safety and cleanliness.
- Reflect on lessons learned, emphasizing thorough research and the value of professional help.
Identifying the Need for Removal
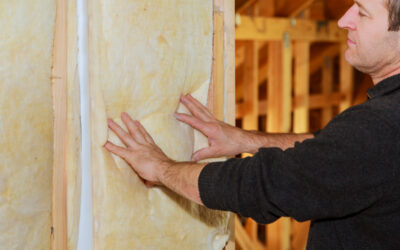
Recognizing when it’s time to remove old cavity wall insulation starts with identifying a few telltale signs that can’t be ignored. In my journey, the first red flag was an unusual increase in my heating bills. It seemed like no matter how high I cranked up the heat, my home just wouldn’t stay warm. This was a clear indication that the insulation wasn’t doing its job anymore.
Next, I noticed damp patches appearing on the interior walls and close to my heat pump (The Economics of Heat Pumps: Understanding the Long-Term Savings Potential). This was especially evident after heavy rainfall, suggesting that water was somehow penetrating the cavity wall insulation, rendering it less effective. Mold and a musty smell followed shortly after, creating an uncomfortable living environment and raising health concerns.
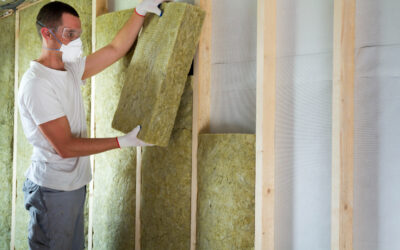
Another sign was the exterior brickwork of my home. I spotted areas where the mortar had started to deteriorate, and in some places, the bricks were visibly wet, indicating that moisture was being trapped by the insulation material.
Each of these signs pointed me toward the unavoidable conclusion that my cavity wall insulation needed to go. It was a tough realization, but one that set me on the path to making my home a warm, dry, and healthy place to live again.
Selecting a Qualified Contractor
Once you’ve decided to remove your cavity wall insulation, finding a qualified contractor should be your next step. This stage is important because the expertise of the contractor directly impacts the success of the removal process. I learned that starting with a bit of research is key. I looked for contractors with specific experience in cavity wall insulation removal, not just general insulation services. It’s comforting to know that someone understands the intricacies of the job at hand.
I also checked each contractor’s certifications and reviews (more here: https://community.eonnext.com/threads/4816-Cavity-wall-insulation-need-help-finding-a-supplier). Certifications gave me peace of mind that they met industry standards, while reviews from previous customers helped me gauge their reliability and quality of work. It’s like joining a community that guides you through their experiences, steering you away from potential pitfalls.
Asking for detailed quotes from several contractors was another step I took. Comparing these quotes wasn’t just about finding the lowest price; it was about understanding what each contractor offered and ensuring there were no hidden costs. This comparison helped me feel confident in my choice, knowing I’d selected someone who aligned with my needs and budget. It’s a partnership, after all, and feeling connected and understood by your contractor makes the journey less challenging.

Preparing for the Process
After selecting a qualified contractor, it’s time to focus on what lies ahead and start preparing for the cavity wall insulation removal process. The preparation phase is vital for ensuring that everything goes smoothly and efficiently. Here’s how I got ready:
- Clearing the Area: I made sure to clear any furniture, decorations, or valuables from the rooms where the work would be done. This not only protects my belongings but also provides the workers with the space they need to operate effectively.
- Discussing the Plan: I had a detailed conversation with the contractor about the plan of action. This included understanding the timeline, the equipment they would use, and any necessary precautions I should take. It was essential for me to feel involved and informed throughout the process.
- Setting Up for Accessibility: Ensuring that the team had easy access to the work areas was a priority. I arranged for any obstacles to be removed and verified that there was ample parking and space for their equipment.
Preparing for cavity wall insulation removal wasn’t just about logistics; it was about creating a seamless partnership with the professionals to rejuvenate my home’s efficiency and comfort.
Navigating Challenges
Despite meticulous planning, I quickly learned that manoeuvring the challenges of cavity wall insulation removal required adaptability and patience. The first hurdle hit me when unexpected weather conditions threatened to delay the project. I realized then how essential it is to have flexible timing and backup plans.
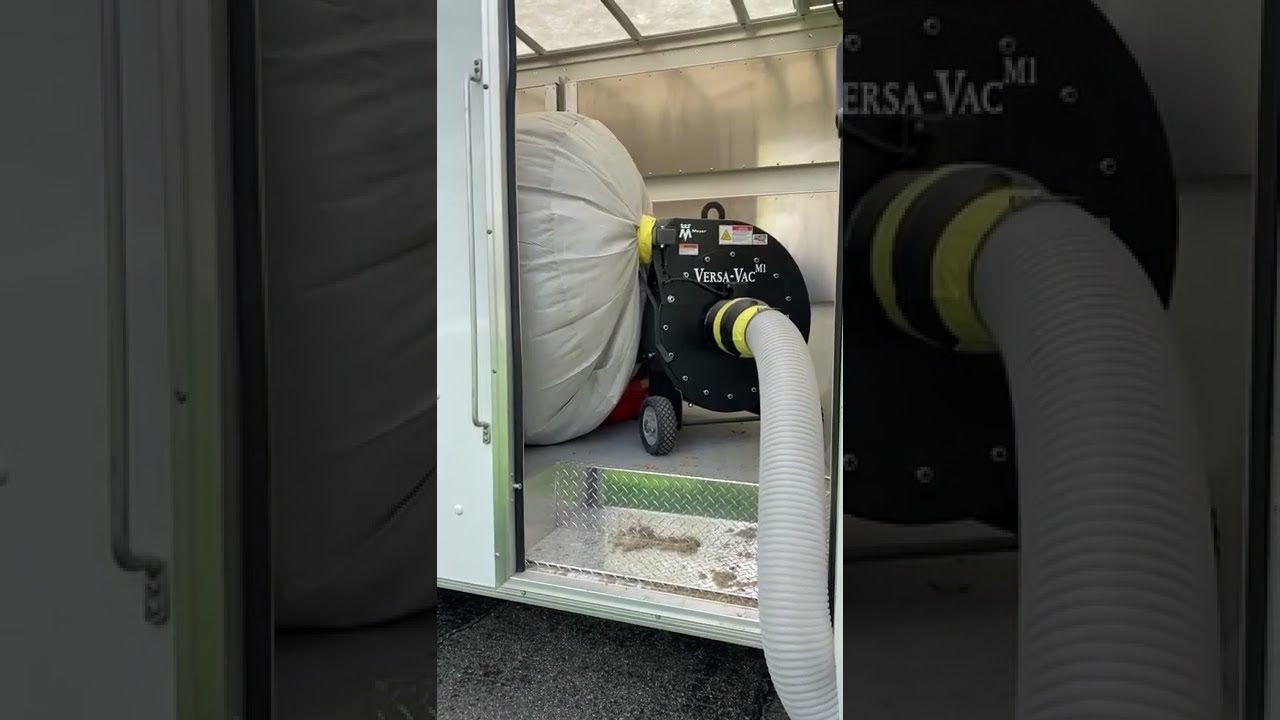
As I dove deeper, I encountered technical difficulties. The insulation material in my walls was not only outdated but also improperly installed, making the removal process much more complicated than anticipated. I had to research and consult with several professionals to find the most effective solution, emphasizing the importance of seeking expert advice when in doubt.
One of the most intimidating challenges was ensuring the safety and cleanliness of my home during the process. Dust and debris became a constant battle. I learned to seal off work areas meticulously and invested in high-quality air filters to protect my family’s health.
Navigating these challenges wasn’t easy, but it was a journey that taught me a lot about problem-solving and resilience. Sharing these experiences, I hope to empower others who might be facing similar hurdles, reminding them that they’re not alone in this venture.
Reflecting on Lessons Learned
Reflecting on the journey, I’ve come to realize that facing the challenges of cavity wall insulation removal head-on has equipped me with invaluable lessons in perseverance and adaptability. It’s been a path filled with unexpected turns, but I’ve emerged more knowledgeable and prepared for future home improvement projects. The experience has been enlightening, and I’m keen to share the key takeaways that might help others feel less isolated in their efforts.
Here are three essential lessons I’ve learned:
- Research is Key: Before delving into any project, thorough research is paramount. Understanding the types of insulation, the removal process, and potential pitfalls saved me from making costly mistakes.
- Professional Help is Invaluable: While it’s tempting to go the DIY route, recognizing when to call in professionals can save time, money, and stress in the long run. Their expertise was a game-changer.
- Patience Pays Off: Rushing through the process leads to oversight. Taking the time to assess each step thoroughly ensured a more effective and safer insulation removal.
These insights have not only made me more skilled in handling home maintenance tasks but have also shown me the importance of community in getting through challenges.
Learn more: cavity wall insulation removal near me
Wrapping it up
Reflecting on my cavity wall insulation removal journey, I realize it was more than a simple fix—it was a transformative experience. Recognizing the need for removal through signs like rising heating bills and damp patches was crucial. This vigilance helped me act swiftly to address the issues.
Choosing the right contractor was pivotal. It wasn’t just about hiring someone; it was about finding a partner with the right expertise. Thoroughly vetting their credentials and discussing detailed plans ensured a smooth process.
Preparation was key. Clearing spaces and understanding the project timeline were not just logistics but essential steps in fostering a seamless partnership with the professionals. This groundwork made the entire process more efficient and less stressful.
Facing challenges like unexpected weather delays and outdated insulation taught me the value of flexibility and patience. Adapting to these hurdles emphasized the importance of having backup plans and staying open to adjustments.
Maintaining safety and cleanliness was vital. Managing dust and debris highlighted the need for meticulous planning to protect my family’s health.
Overall, this journey reinforced the importance of being informed, the value of professional help, and the necessity of patience. It equipped me with confidence and a deeper understanding of home care, preparing me for future projects. Embrace your home improvement journey with engagement and remember that each challenge is a chance to grow and enhance your living space.